From Lab to Cloud – Intune, Where do we start?

Things are now heating up..
Sections
Section 11.1 IntroductionSection 11.2 What is the plan?
Section 11.3 Creating and implementing a deployment profile
Section 11.4 Setting up the Enrollment status page
Section 11.5 Final words
Section 11.1 Introduction
Another day and another morning of me writing this introduction for this post. A lot has been covered so far but it has dabbled more into the sys-admin type of genre which is good but it is time to transition into something more cloud based. You should see more blog posts based on more cloud based technologies as the transition nears a complete.
Now enough of my waffle and time to start this blog.
Section 11.2 What is the plan?
Well in the last blog, I covered lightly on Intune and how we obtained the hardware hash of the VM. That was the basics but the plan now will be a different wavelength as I will focus more on autopilot and how we can configure this.
So the plan is to make autopilot work, we will need to create a deployment profile and once the profile is created, we will assign it to the device and then all the magic happens. Then we will deploy apps and create a configuration profile and other management level tasks that can be done. That is the plan I have for the future blogs coming and this blog post, I plan to cover mainly about how to set up and create a deployment profile as well as testing this on our client VM. I plan to keep my blogs structured so I will try and cover all the key points I
Now let me begin..
Section 11.3 Creating and implementing a deployment profile
As the section header says, creating and implementing a deployment profile for the client VM. So let me take a huge step backwards for this section and let me explain what a deployment profile is.
What is a deployment profile
So what is a deployment profile. Well a deployment profile is kind of like a configuration file which determines how a device should be setup during autopilot deployment. Every autopilot device enrolled to Entra will have a deployment profile applied to it and there will never be a device which will not have one applied.
This is kind of the reason why in my last blog, I stopped after I uploaded the hardware hash since there was another part of that stage which was to create a deployment profile. But that deserved a blog of it's own which is why I am here now.
How to create a deployment profile
So how do we create this
The process for creating a deployment profile carries different stages in how it can be setup. The main method of creating a deployment profile is mainly through the Intune portal but let me break it down into small stages.
Stage 1 - Accessing the Intune portal
The first stage of creating the deployment profile is accessing the portal. The portal used is the Intune portal and this portal is where we create all the policies for the devices, add and manage apps and contains much more device management properties.
You can access the portal through this url 👉 https://intune.microsoft.com/
Make sure to sign in with the same account you sign into Azure with as you will need an account that has global administrator properties
Stage 2 - Starting the process
Now onto the second stage of starting the process. Now we have signed into the portal and are greeted with a page that looks like below -
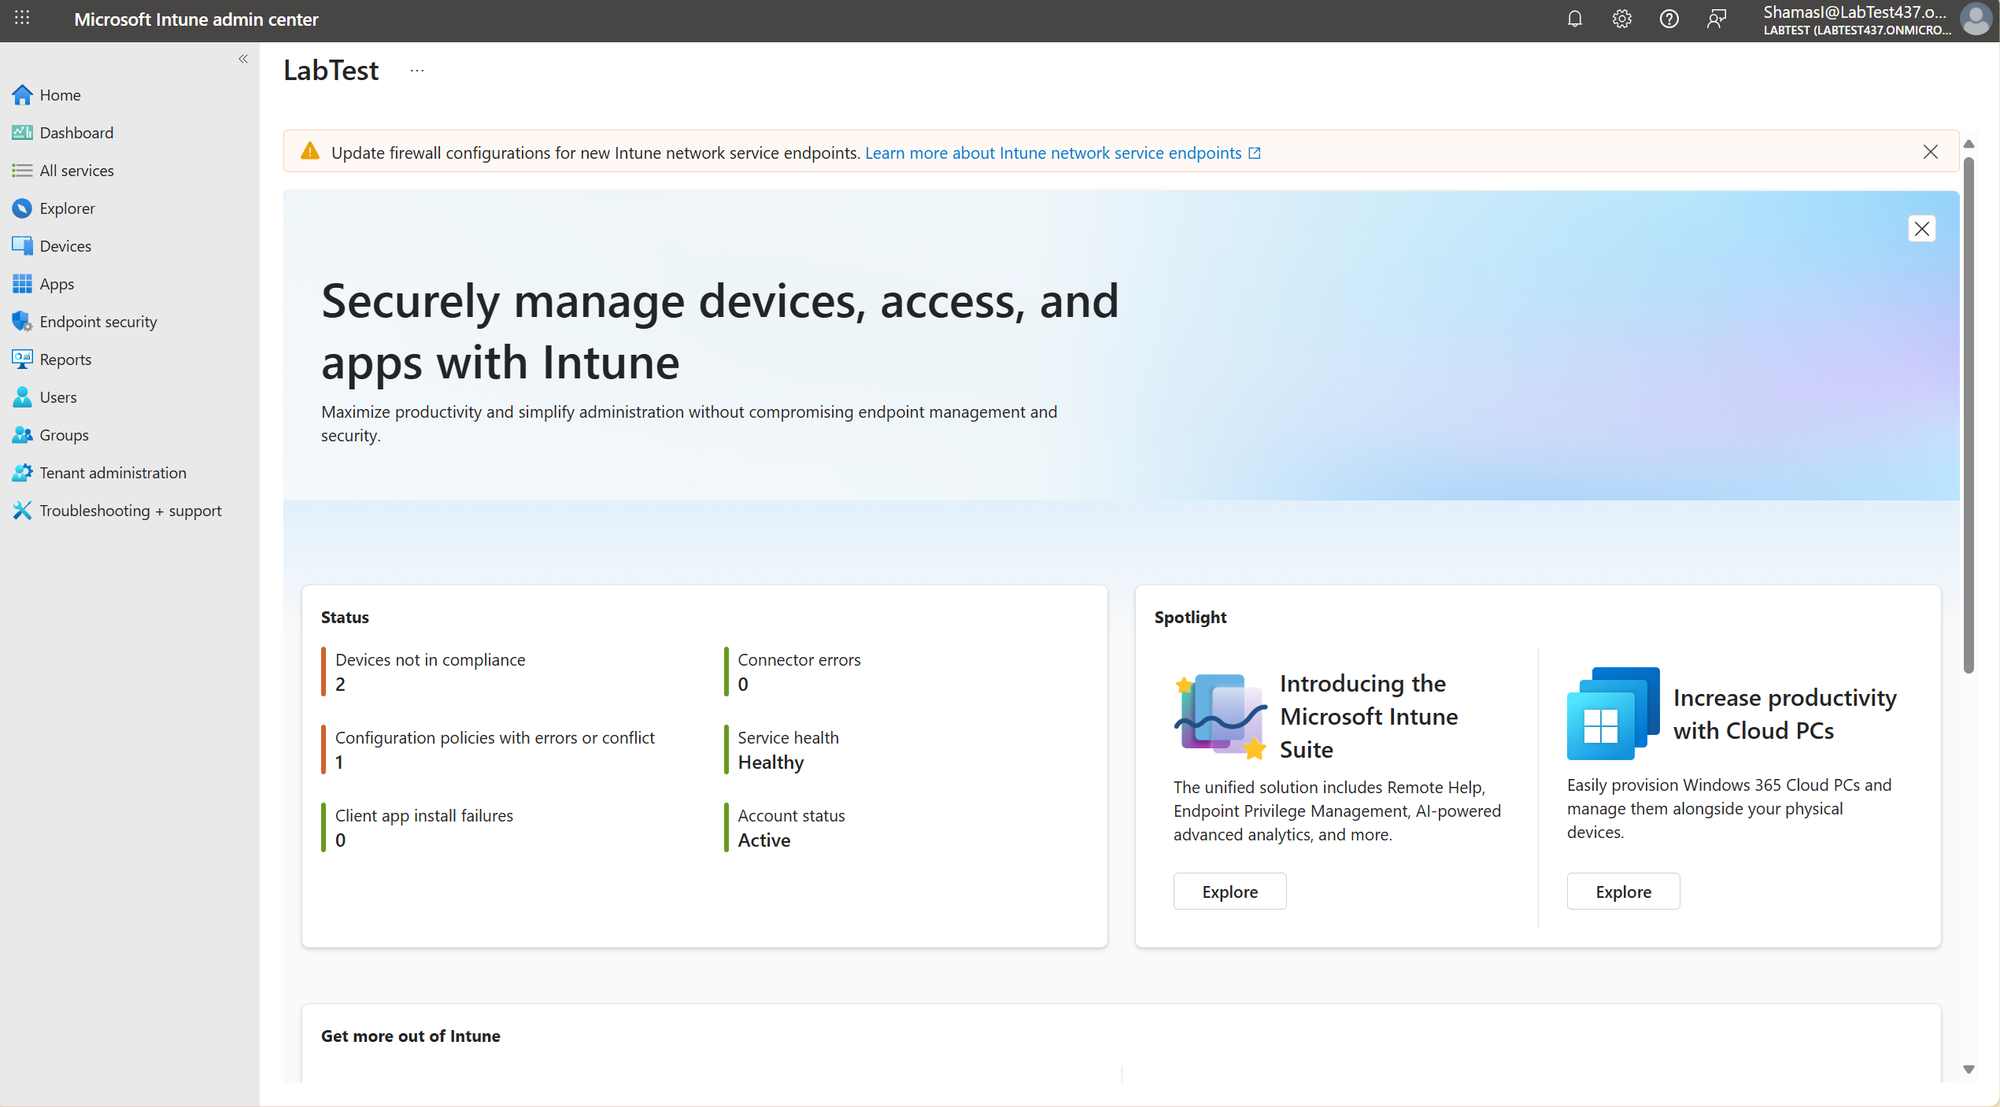
A well laid out page right? This is one of the easier pages to navigate and now we need to access the deployment profile page. To do this, press the devices tab -> enrollment (under device on boarding)
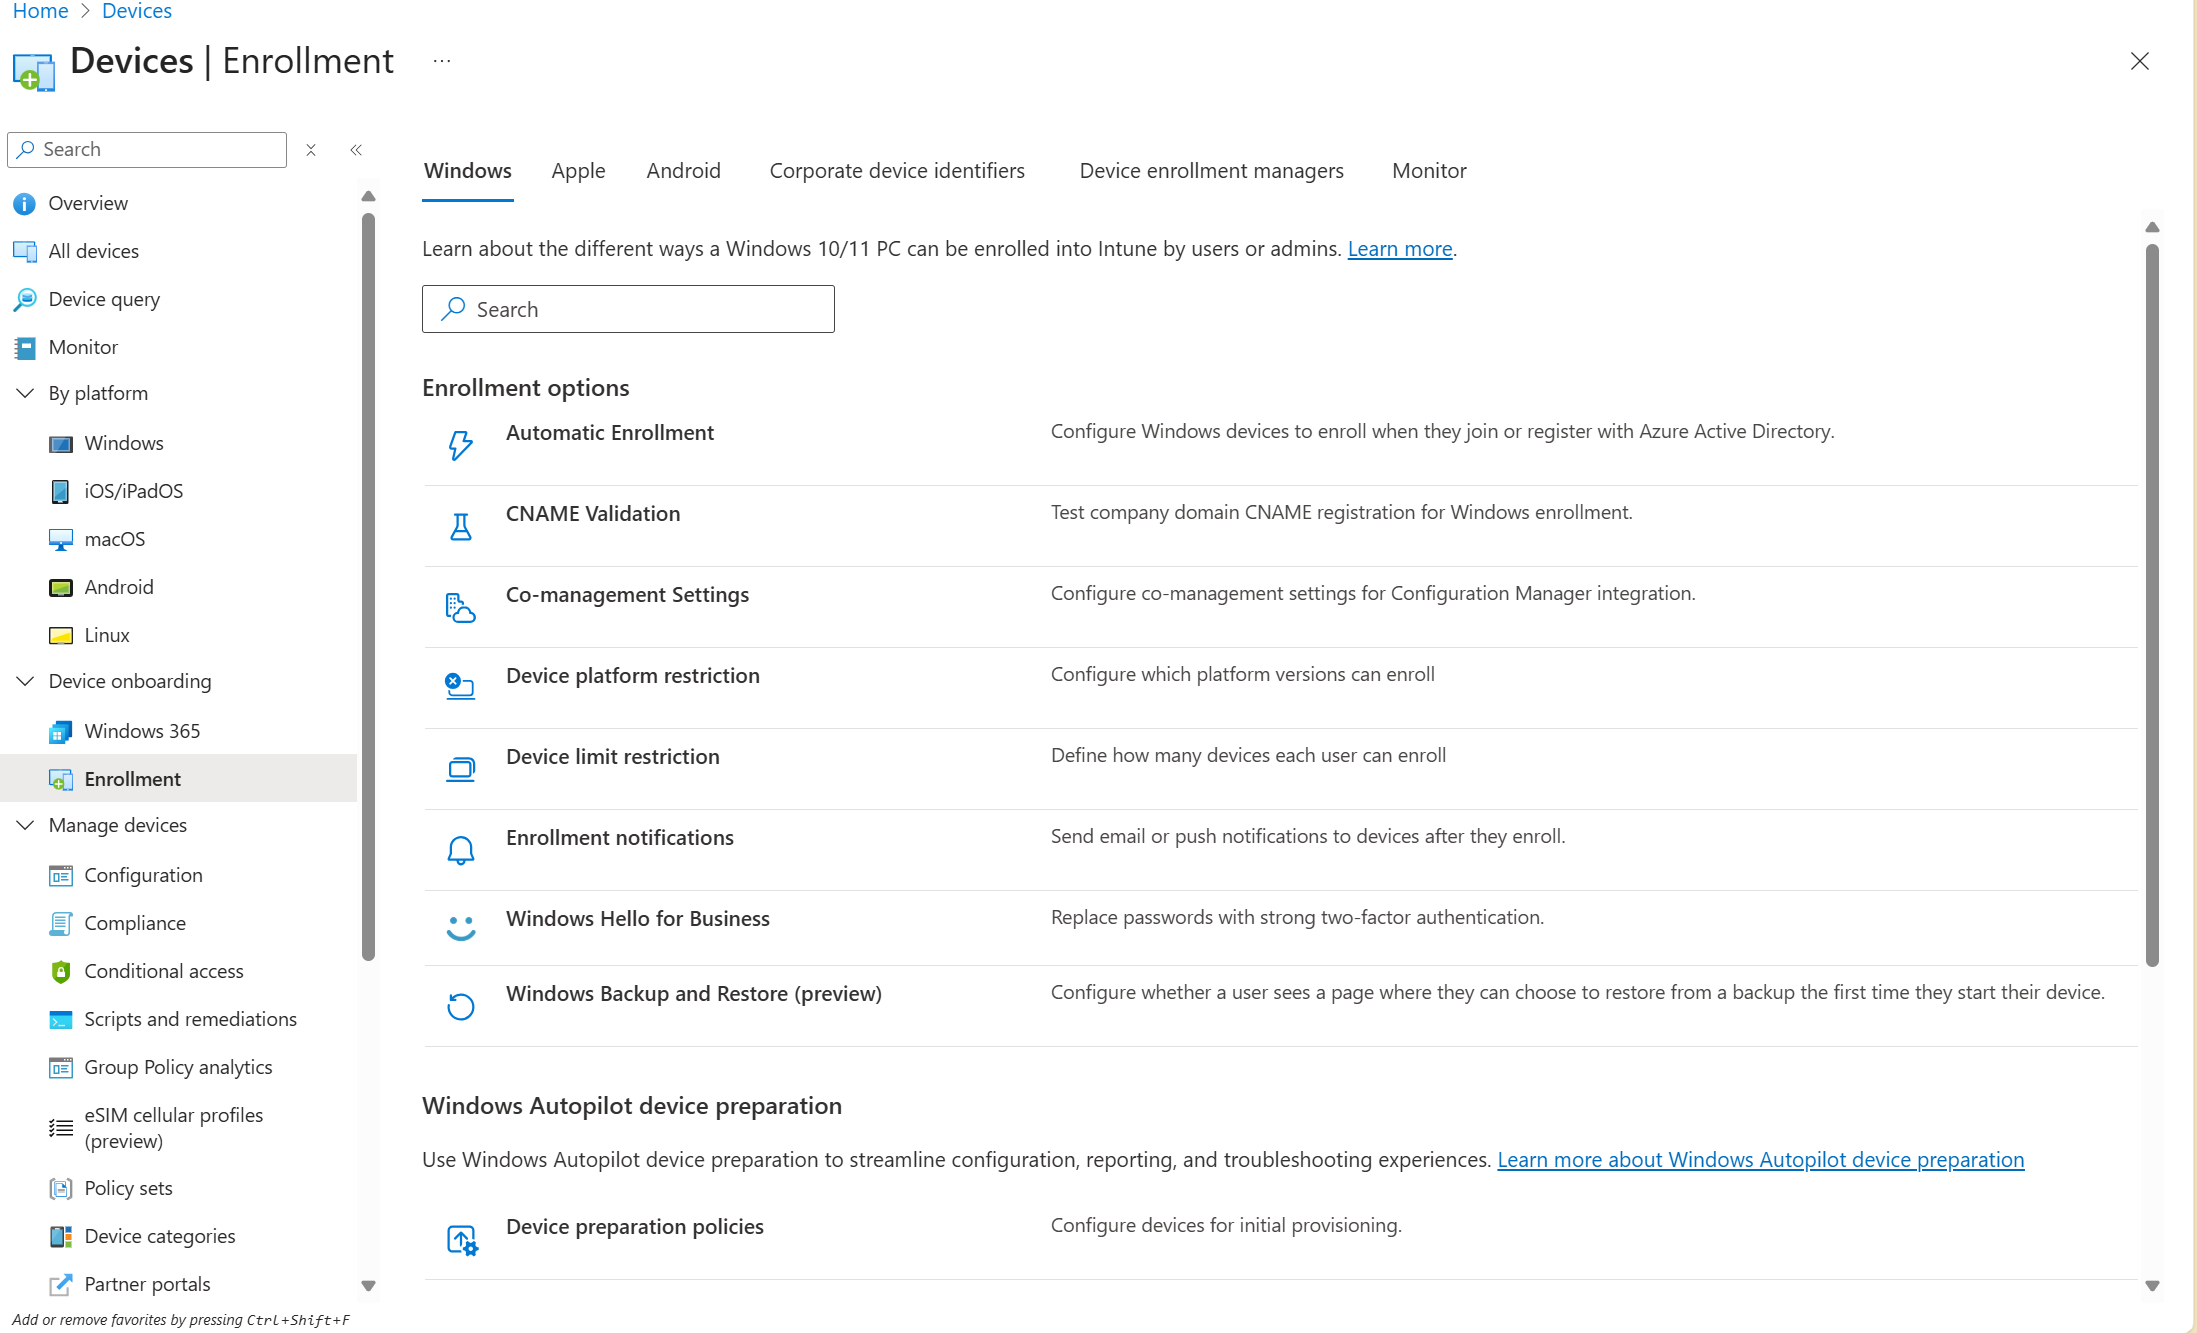
The page should look like the above screenshot. With all the different options shows how much can be done with Intune but for now I will scroll down and press the deployment profile option.
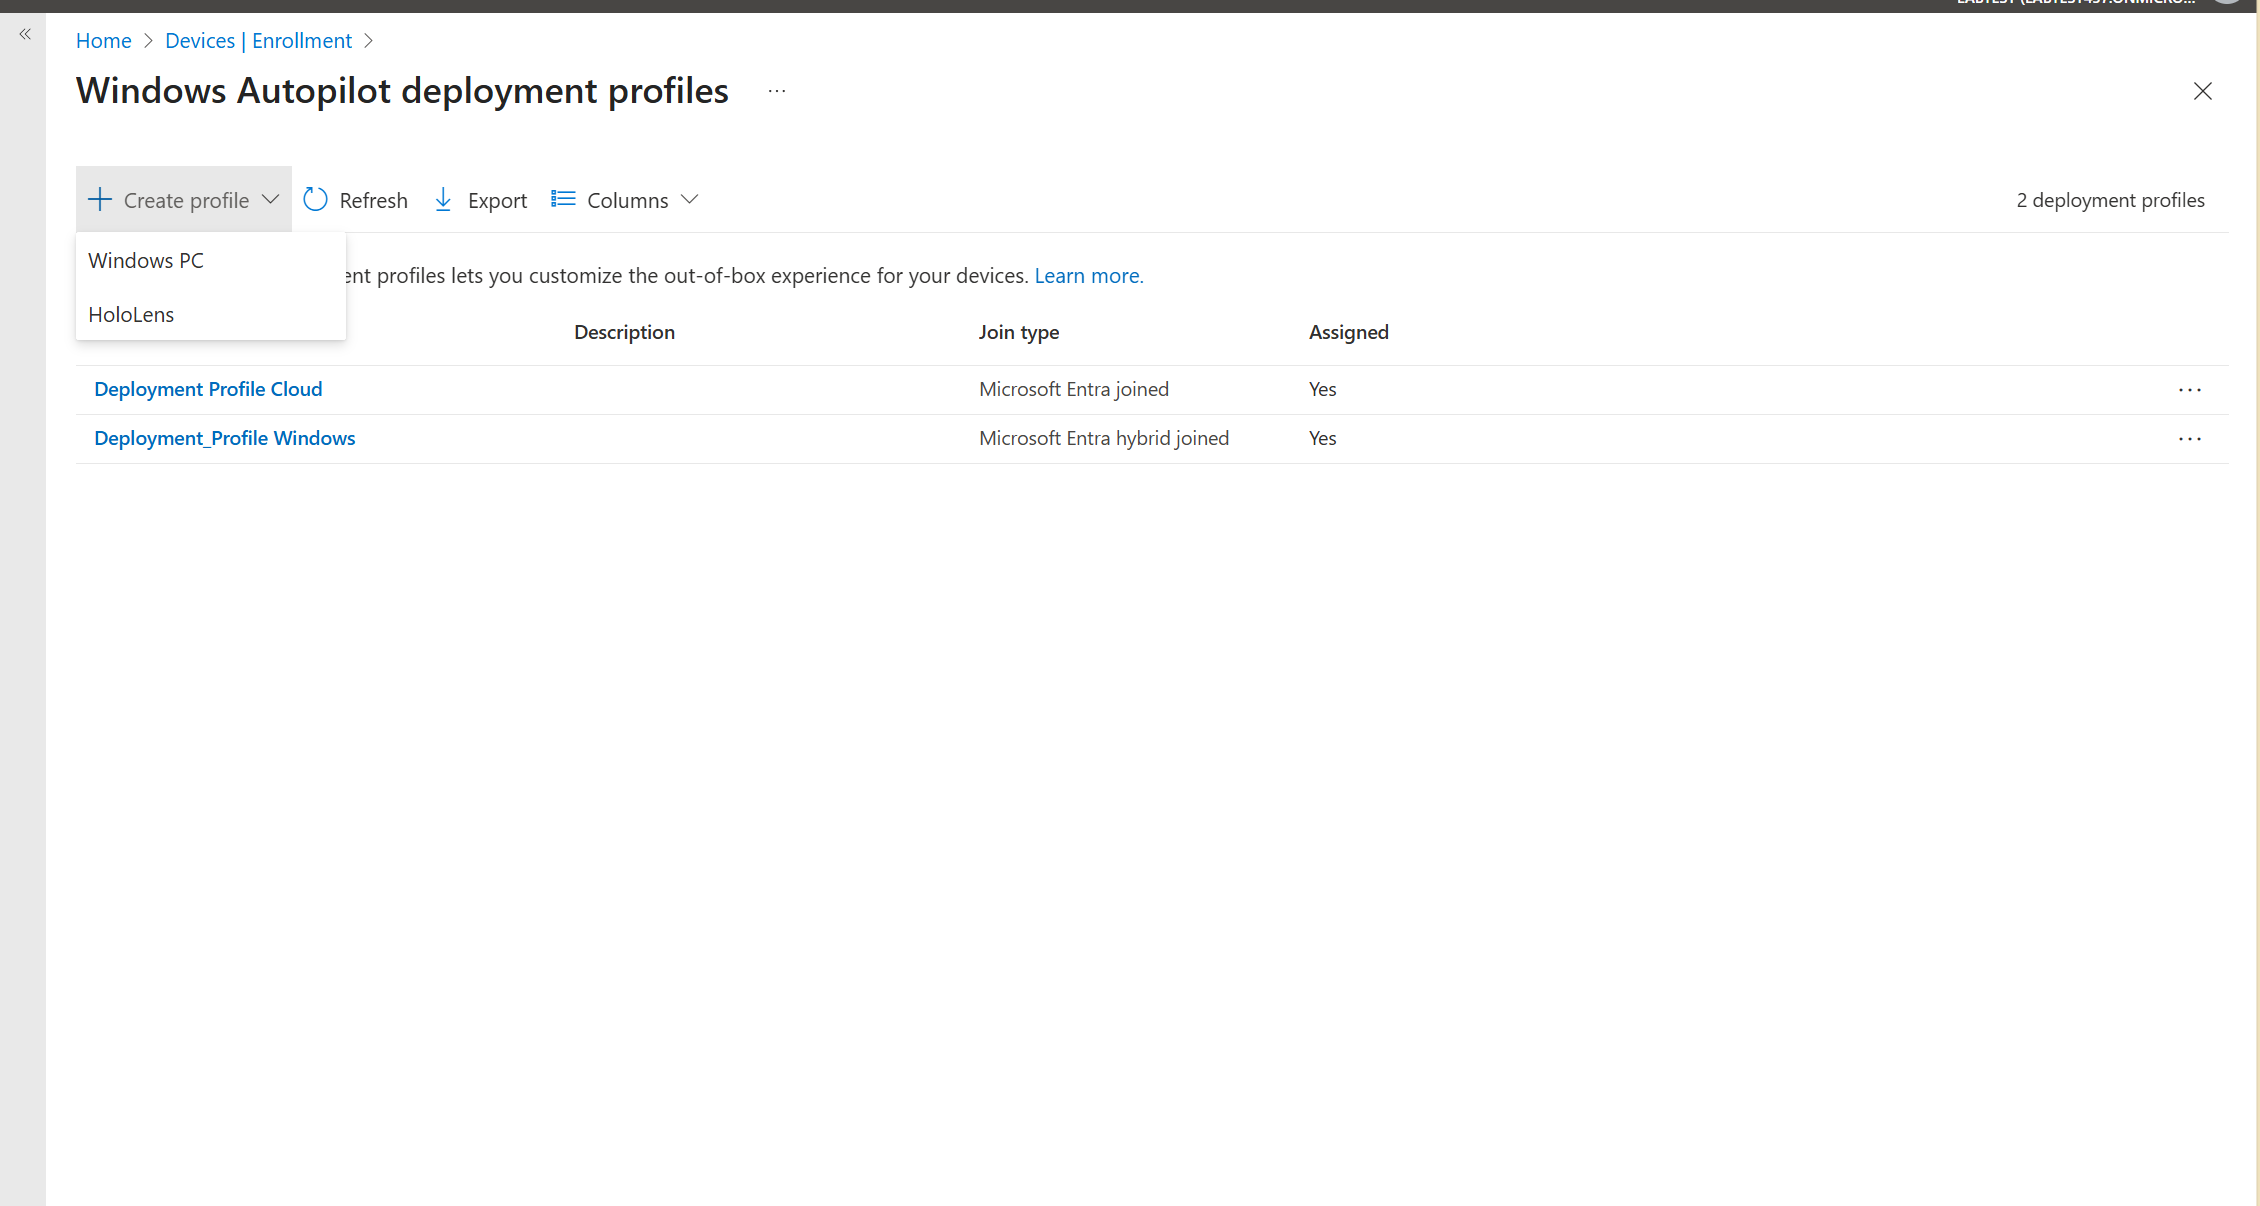
The above menu should show up. As you can I see I have created two different profiles, one is only Entra joined whereas the other is hybrid joined which you will see in different organisations.
For now, I press create profile and choose Windows PC.
Stage 3 - Configuring the settings
1) Basics page - In this page we make the name for the deployment profile, description and give start the process.
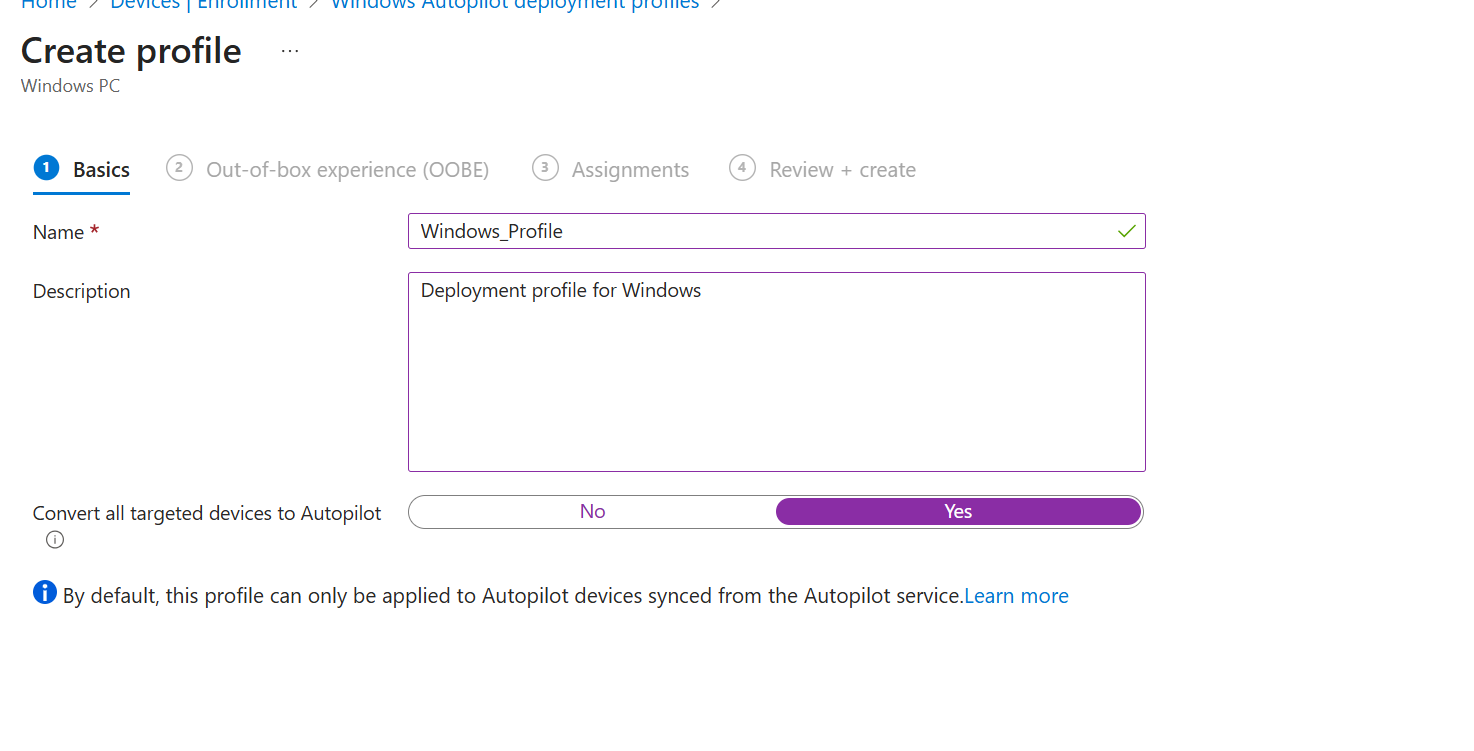
However, there is an option to convert all targeted devices to autopilot as that will transfer our device into autopilot. Make sure this is enabled as shown.
2) OOBE (Out of box experience) page - The second page focuses more on how the deployment will be setup.
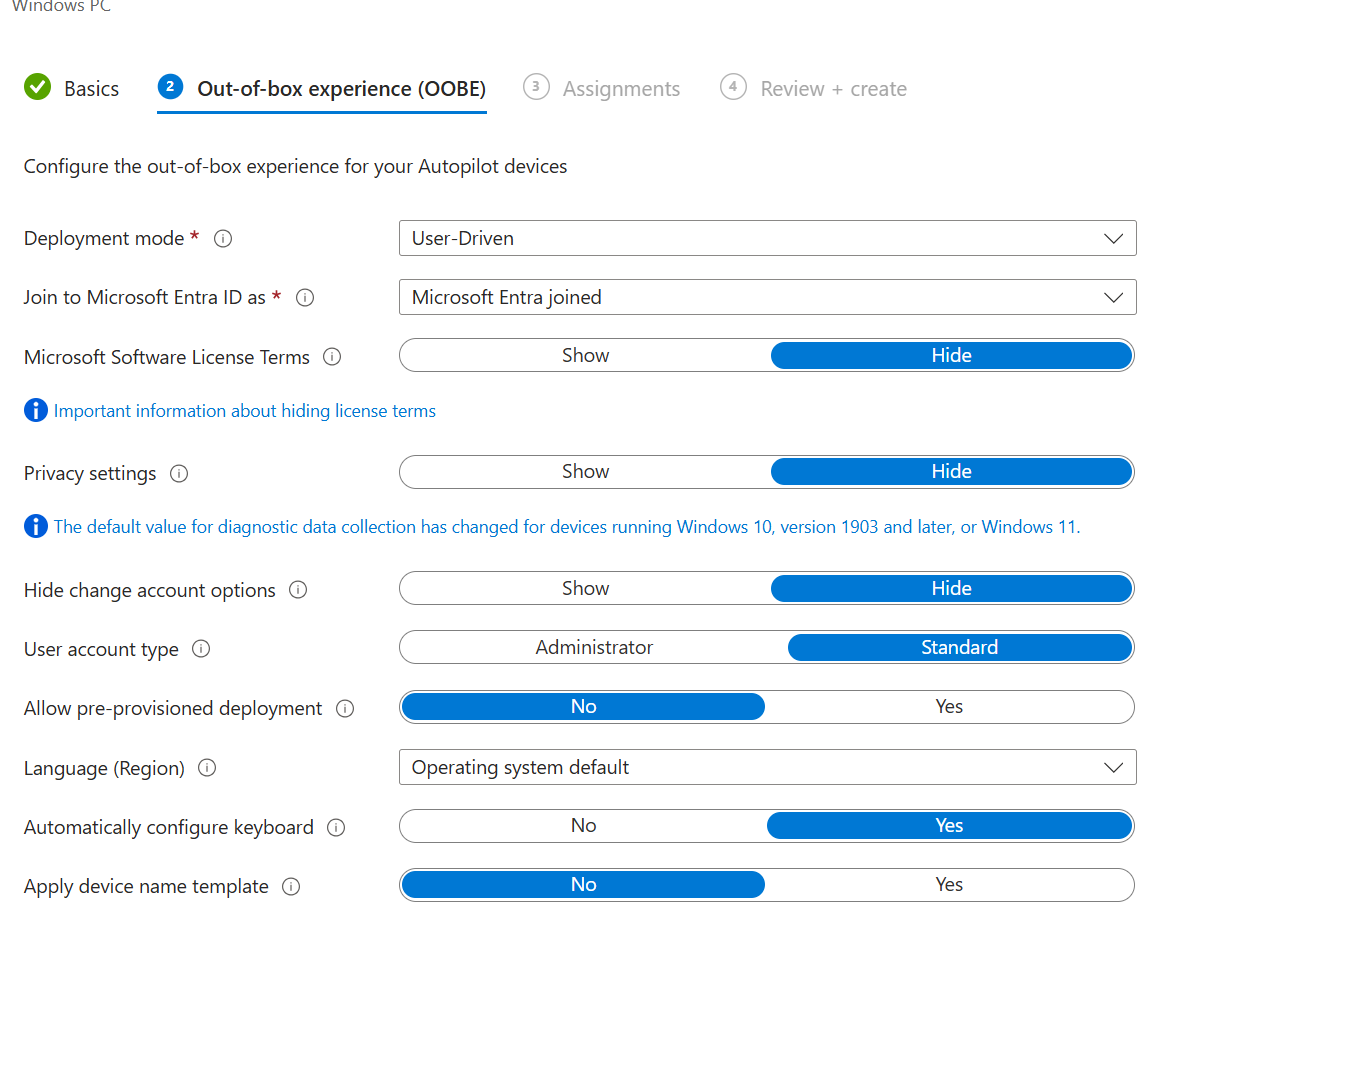
The screenshot above shows all the different settings that will show up
Deployment mode - Refers to the way that autopilot will be deployed
User driven - This is the setting we will use and is when the end user provides credentials to enter the device and device will be enrolled in Entra.
Self deploying - No credentials are required to authenticate but device will be enrolled in Entra.
Join to Microsoft Entra ID as - This setting is an option on how devices can be joined to Entra ID. If you choose self deploying, then the only option to choose would be Microsoft Entra joined. But for User driven, there is another option..
Microsoft Entra joined - Device is added to Entra and registered as an corporate device.
Microsoft Hybrid joined - Device is joined to Entra and the on-premise AD DS system which means there is a hybrid connection in action.
Microsoft software license terms - This option is mainly to show Microsoft software terms for the end user. I normally send this to hide but it mainly shows the license terms for Windows
Privacy settings - Allow users to configure privacy settings and allow/disallow location settings etc. I normally set this to hide.
Hide change account option - Gives the user to hide or show the change account option which lets users sign into another account. I will press hide on this.
User account type - What type of users are signing into the account. I will choose standard as in this case, we do not wish a standard user to become an Administrator.
Allow pre-provisioned deployment - This allows users who have devices enrolled to Intune to start the provisioning themselves by pressing the windows key 5 times. But for now I will press no.
Language - Language you want the device to be. English would be fine.
Automatically configure keyboard - Configures keyboard as the same as the language chosen.
Apply device name template - Allows us to choose the name of the device. I will apply a device name template to show me that the device has enrolled successfully. I will use the below template

3) Assignments - In this stage we do the assignments which is the devices that this profile will apply to.
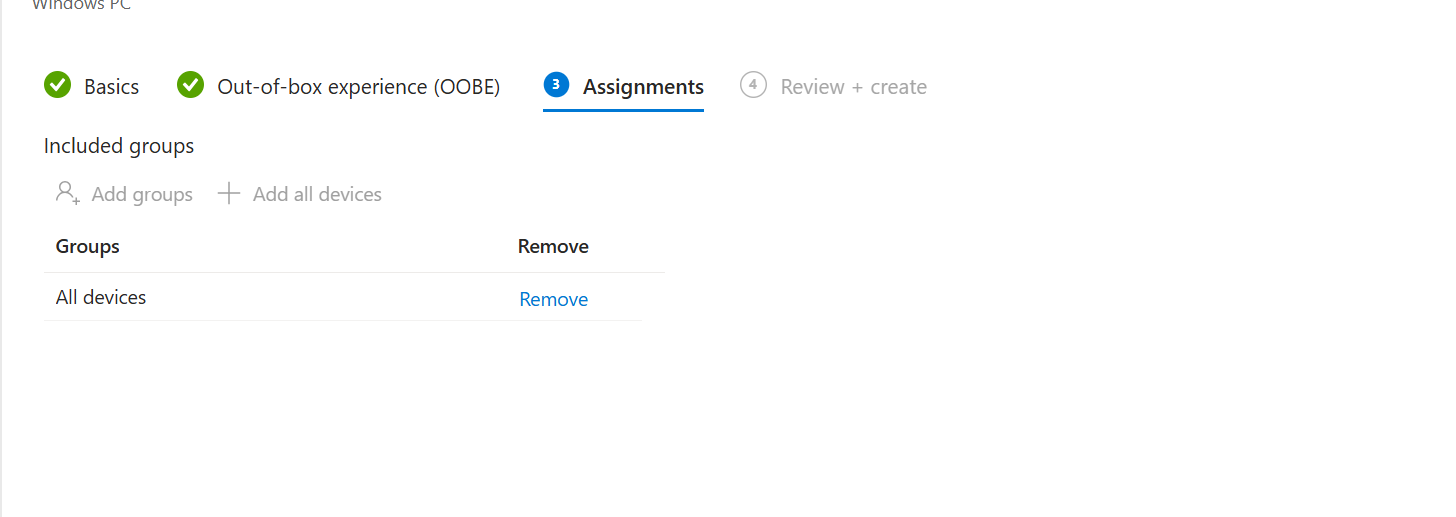
I chose all devices as this will be the main deployment profile for the devices that will be enrolled to Intune. Press all devices and then next.
4) Review and create - In this stage it is just reviewing all the options we chose and the press create once done
Stage 4 - Assigning the deployment profile to our machine
Now I have shown how to create a deployment profile, it is time to assign the profile. This is pretty simple to do and the best way to do this is through this link -Autopilot - Microsoft 365 admin center
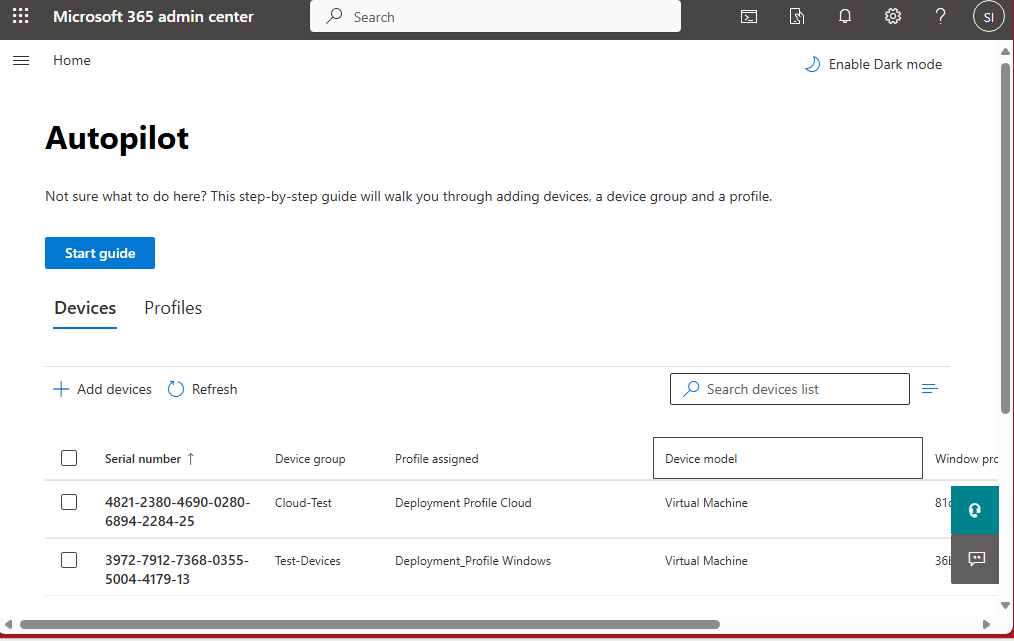
The screenshot above shows the page that will come up once we have signed in (I know there are two other devices added, this was just me testing. There should be a blue button to start guide, press that and the guide will guide you on how to upload the hash and assign a profile.

Once the guide has been completed, you should see the device in the list. As you can see from the screenshot, the serial number has been uploaded as well as the model and the profile. The profile is the same profile that was created in the previous section.
Once you see the device showing up, that means the device has been uploaded to Intune and it is time for the next stage.
Section 11.4 - Setting up the Enrolment status page
The final section of this blog, setting up the Enrolment status page. This will hopefully be a basic section where I will cover what ESP is used for and how to set this up
So What is it used for?
The enrolment status page or ESP for short is mainly used as a visual indicator that shows end user the progress of how their device is being setup and what is being setup. I honestly prefer having an ESP set up as it shows what process the device is on such as setting up the policy or if it installing the drivers. Furthermore, it shows if a device has been fully configured. This process mainly happens after the user signs in so valid credentials are needed.
A basic understanding of what an ESP theoretically is. Nothing too daunting to handle but now how do I set it up for my own home lab?
How to set this up
To set this up, there are a series of stages that I will demonstrate on how to set this up. Similar to how I structured this in my last section so let me begin.
Stage 1 - Accessing the ESP menu
The first stage of creating the deployment profile is accessing the ESP menu. The portal is the same portal we used for the last section.
You can access the portal through this url 👉 https://intune.microsoft.com/
Make sure to sign in with the same account you sign into Azure with as you will need an account that has global administrator properties. Once signed in press devices -> Enrollment -> Enrollment status page and you should see the page that looks like below
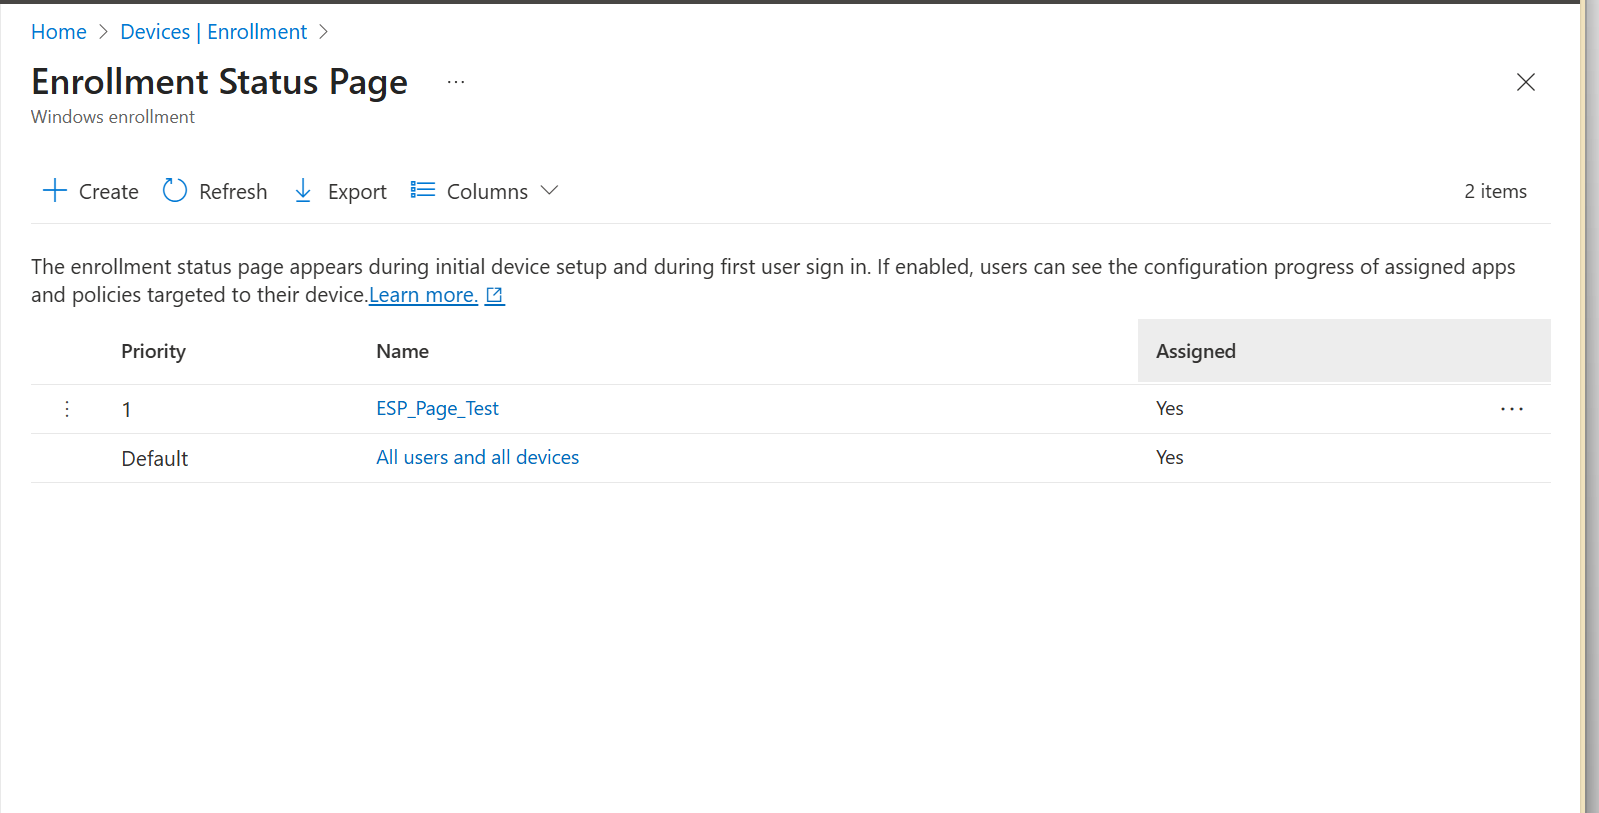
(Note - you will only see the All users and devices option)
Stage 2 - Creating a ESP profile
Press the create button and you should see different options
1) Basics - Here we will give the profile a name and give a brief description. Nothing too complex for this
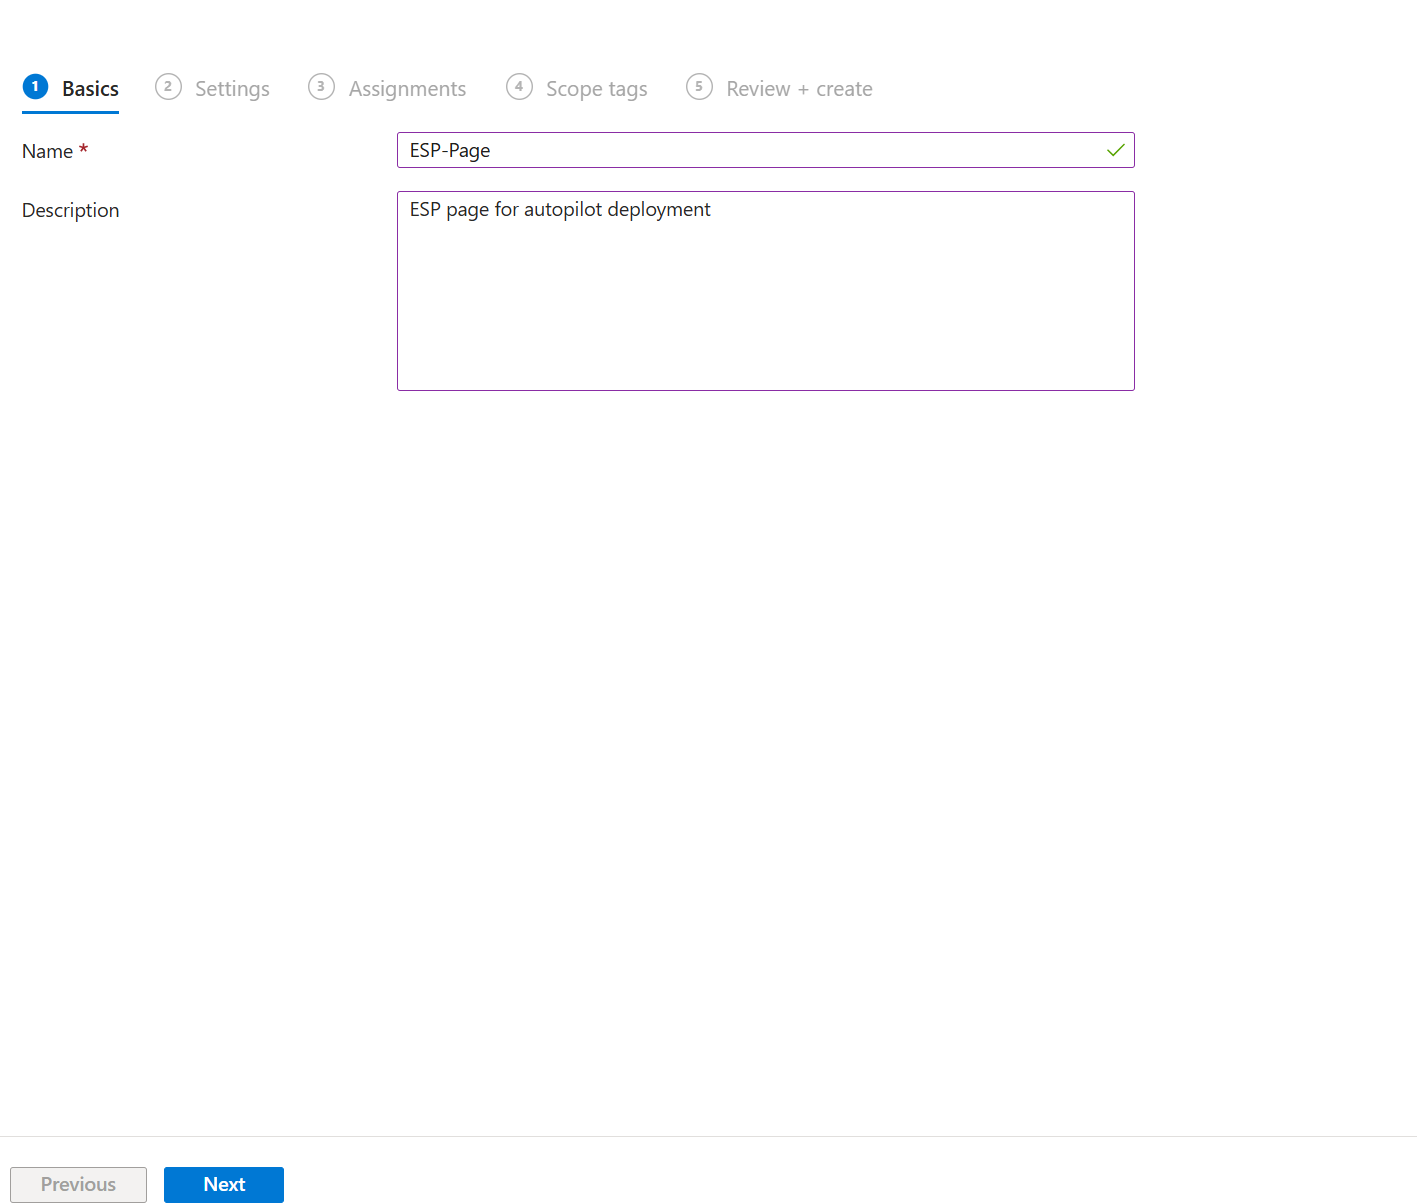
This is how my ESP basics page looks like. Choose a name and just add a small description
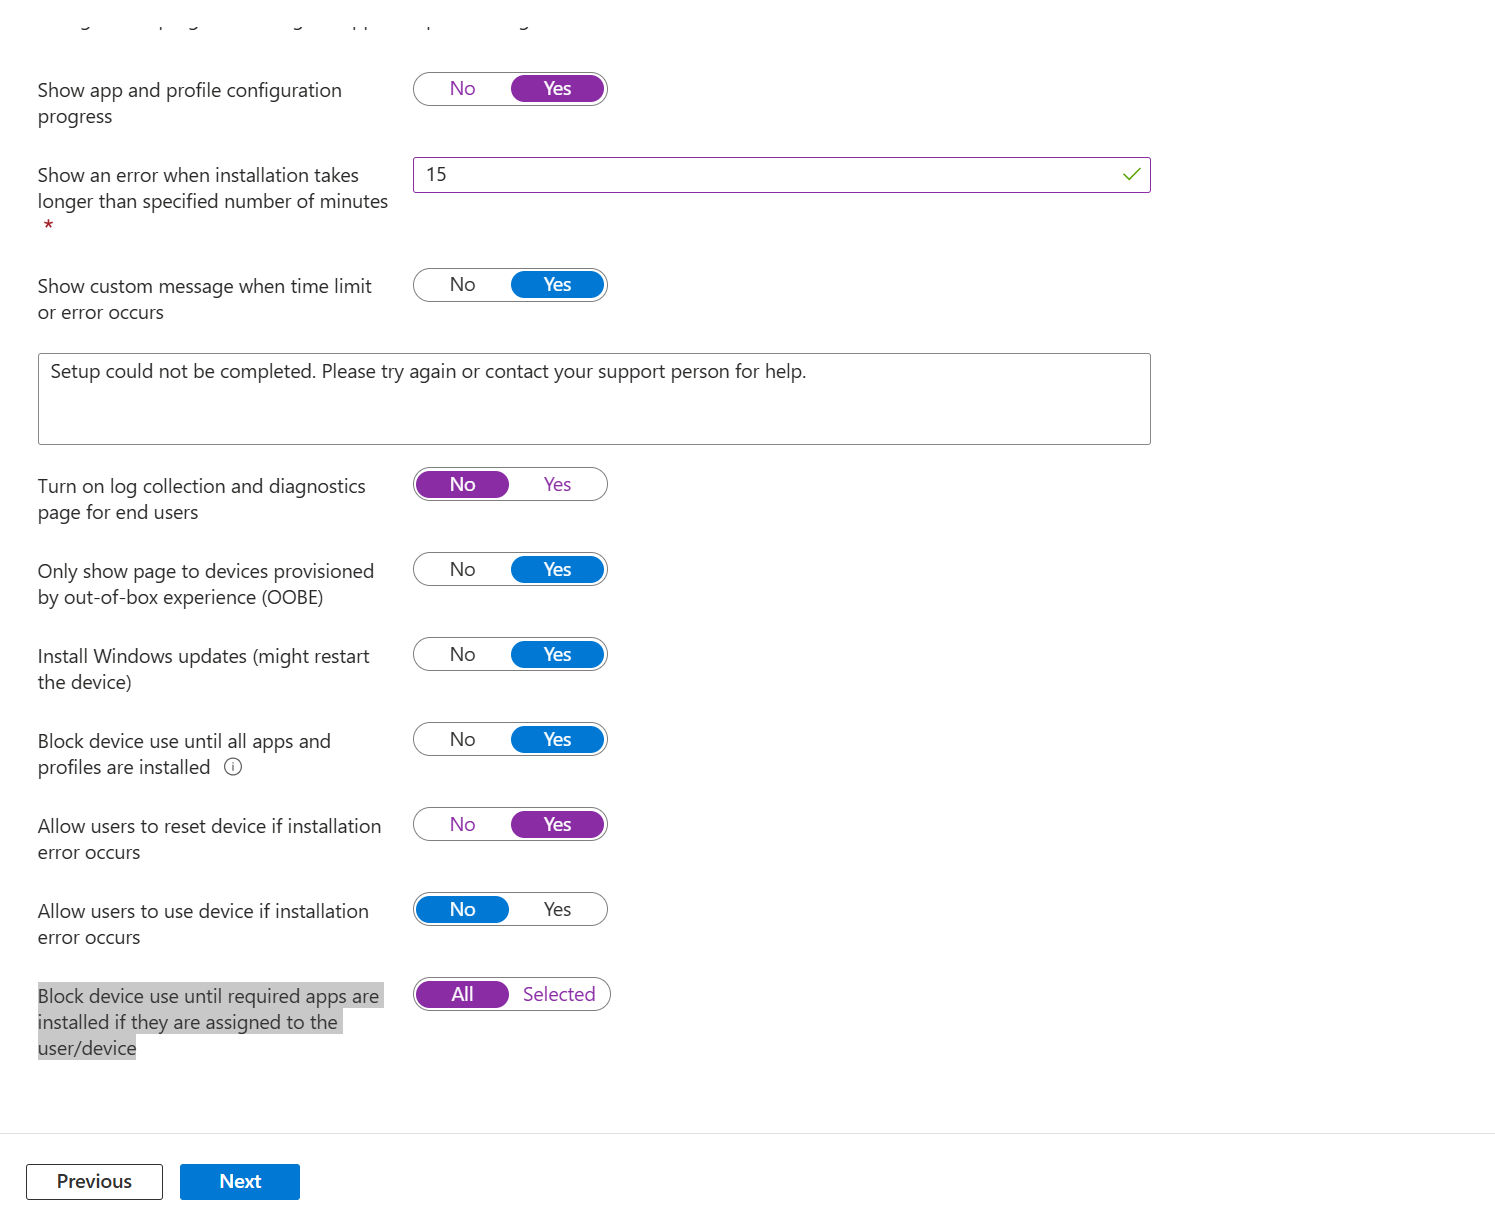
2) Settings - Settings page is where everything will be configured. If you choose the option to show app and configuration progress as no then that is your decision.
But we will choose yes and as you can see there are loads of different options so just follow my steps
Show an error when installation takes longer than specified number of minutes - Set this to 15
Show custom message when time limit or error occurs - I normally add custom messages here so I would click yes and you can write your own custom message
Turn on log collection and diagnostics page for end users - I would press no as we do not need users to see this
Only show page to devices provisioned by out-of-box experience (OOBE) - Another option to press yes as our profile is a OOBE deployment that is used which would apply in my situation
Install Windows updates (might restart the device) - Why not install the latest updates :)
Block device use until all apps and profiles are installed - Need to make sure all the apps and profiles are installed
Allow users to reset device if installation error occurs - In case of any big major errors we will allow this so the device can be reset
Allow users to use device if installation error occurs - This one will be a no since we need to determine why these errors happen
Block device use until required apps are installed if they are assigned to the user/device - This option will be set to yes as why would we set them as required?
Stage 3 - Assignments - Next stage which is assigning the device. Here we choose which devices get the ESP profile. In this section, I press all devices since we are aiming at all devices which are enrolled. Press next after pressing all devices
Stage 4 - Review and create - I know I missed the scope tag area but for now scope tags are not needed. Final page which will be the review and create page which just shows what settings we click. Review everything and press create. We should be good to go.
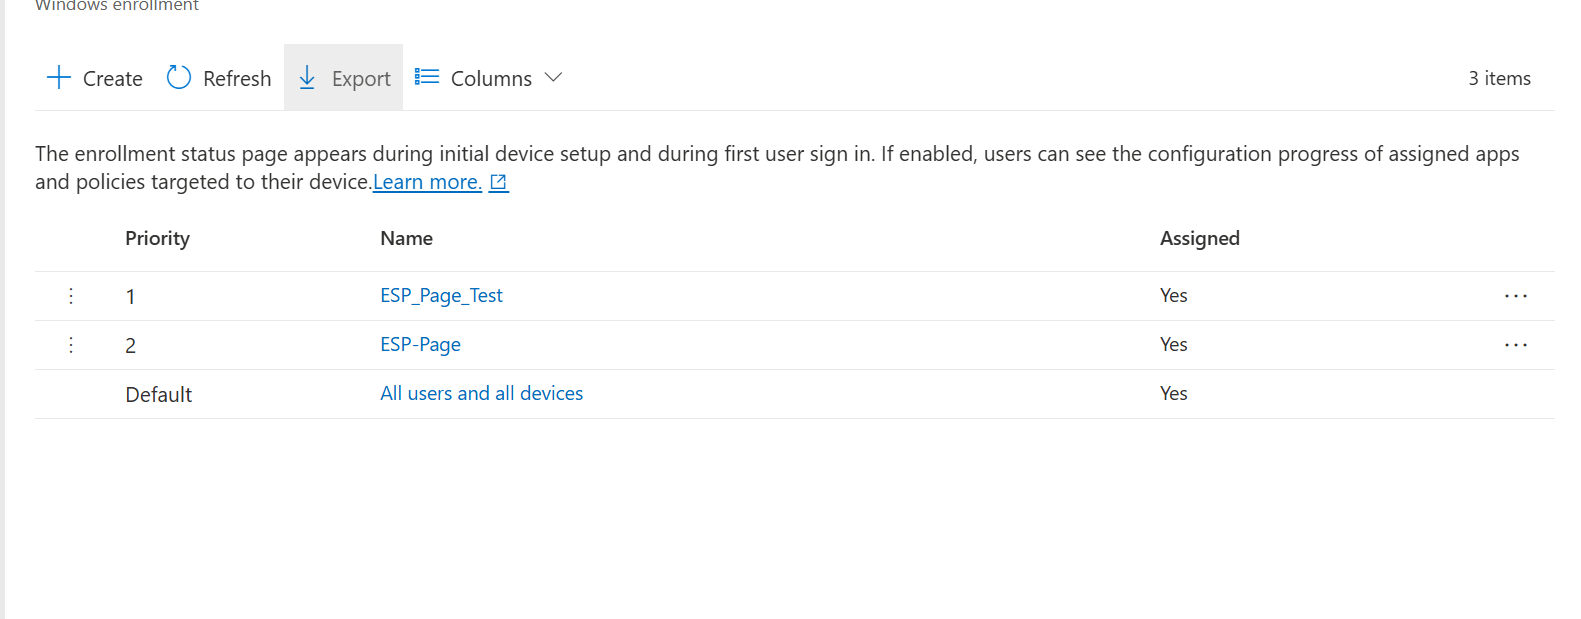
As you can see, I have multiple profiles. The one with priority 1 is the one that will be chosen first and the one that will affect the devices.
Well, that is how we set up a ESP. It is a lot of writing but it is actually basic to do and create.
Section 11.5 - Final words
So I have managed to finally complete this blog. As you can see the blogs are shifting from more basic sys admin stuff to more cloud based technology.
Right now it is nothing major but it is the creation of something special.
As a final word, i will say this - Small beginnings turn into bigger opportunities.
-Sham