From Lab to Cloud: The start of the transition to cloud...
Now the journey changes..
Sections
Section 10.1 IntroductionSection 10.2 Joining the Client PC to the Domain
Section 10.3 Preparing the client device for Intune
Section 10.4 The Intune connector
Section 10.5 Video Tutorial Section 10.6 Final Words
Section 10.1 Introduction
Another week, another blog post introduction being crafted. So far, I have mainly covered the standard sys-admin level concepts sprinkled with a bit 0f cloud concepts for extra spice. But now, the transition to cloud begins as I will mainly cover some more basic sys-admin stuff and start preparing the client VM for Intune use.
(PS - The blog may be more wordy than normal but I will try and keep it as relevant as I can)
Section 10.2 Joining the Client PC to the Domain
First section of the blog, we will try and join the Client PC to the domain that we have set up.
Why?
Why are we doing this? Well the reason for this is to complete the hybrid architecture model that I have illustrated at the start of the journey. The Client PC will need to communicate to the main DC controller and the main way we can do this is by joining the client VM to the domain. Easy peasy right?
Step 1 - Assigning a DNS server to the Client PC
Step number 1, we need to establish a link between the Client PC and the VM and the main way to do this is to assign a DNS server to our client PC.
Which DNS server do I use?
This is an important step. The DNS server we use is the IP address of our Domain controller. This is what allows the link to be created between the Domain controller and our client VM machine.
First we need to retrieve the IP address, go to the control panel -> Network and internet -> Network and sharing centre -> Ethernet -> Choose IPV4 and find the IP address which should be the first text box as shown below.
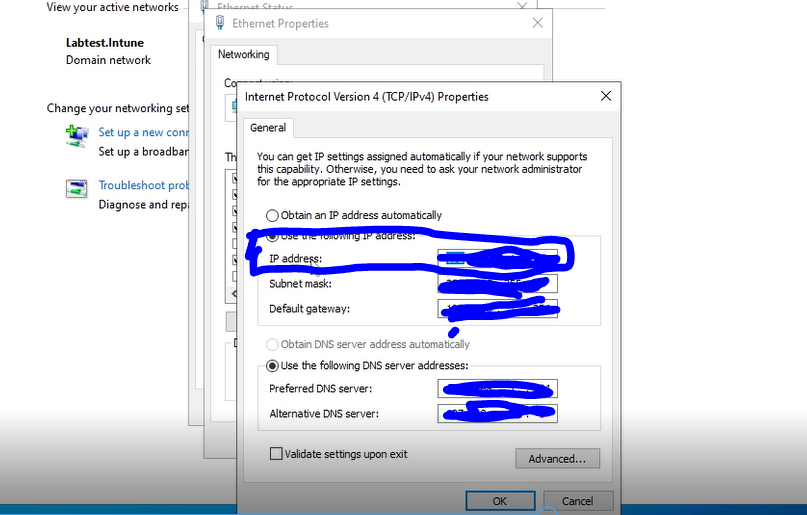
The picture above shows which field to fetch and this is from the DC VM. Then we will use that IP address and use that as our DNS server in our client VM.
Once we have the IP address, we go to the client VM and follow the same pattern of control panel -> network and sharing centre ... but this time we go to the preferred dns server field and put the IP address from the DC VM into the preferred DNS server on the client VM. The connection between the DC and the client VM should be established now and should be ready to go.
Simple right?
I will break it down in more simpler terms. We will go like this
1) IP address of DC VM retrieved
2) IP address used as DNS server in client Server
Step 2 - Renaming the PC
Before we join the client VM to the domain, let's rename the PC to a unique name. To do this, press the magnifying glass and search for rename this pc. Press the rename this PC button and put a unique PC name.
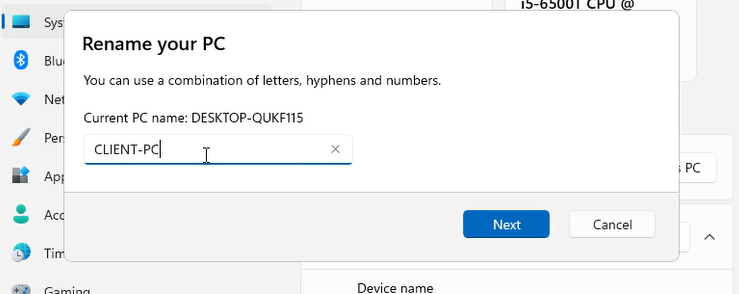
I gave my PC the name "Client-PC" since it represents what the VM is and what the purpose of the VM is. Press next and then it should prompt you to restart the PC. Restart the device and then we should be good to go.
Step 3 - Joining the VM to the domain
Step 3 which is joining the VM to the domain. In this step, I will focus more on how to create the connection for the VM to the domain.
To do this, type in view advanced system settings in the search box and then open the suggestion shown. A window will pop up, press the computer name tab at the top and the window will show some options as shown below.
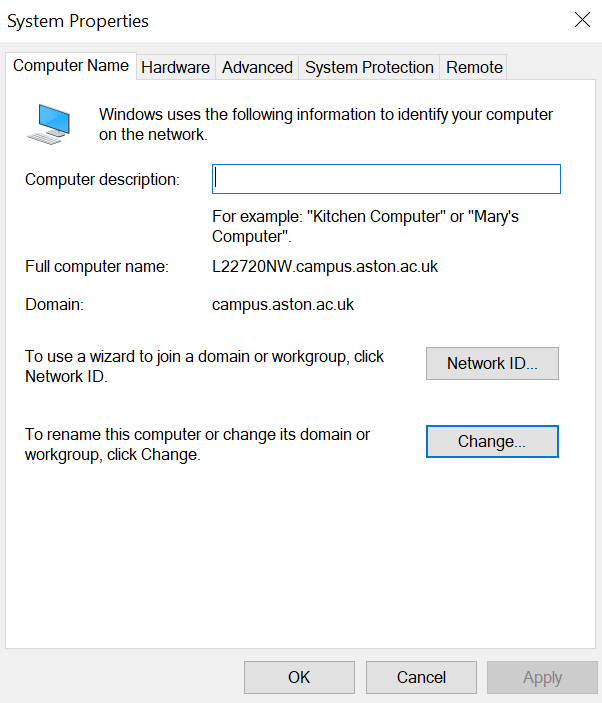
Press the change button as we will need to change the domain it is in. When I pressed the change button, I noticed that a window opened and there are two buttons and they are domain and workgroup.
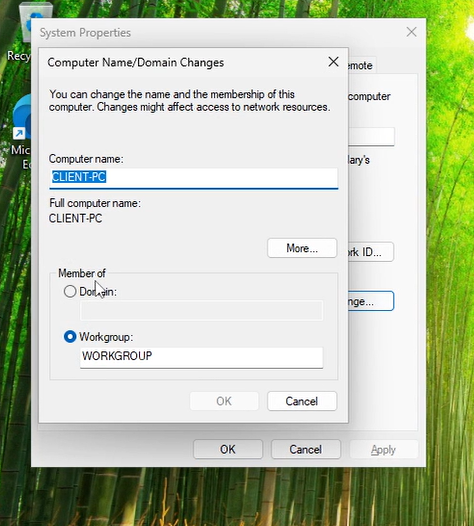
As you can see from my image, the button is already checked on Workgroup and this is completely normal as this is automatically set on all devices which are not connected to the domain.
But since we need to connect it to our domain controller, we press the domain button and in the text box, enter the domain name. My domain name is Labtest.intune and yours may be something different. In my case I would enter Labtest.intune in the text box and press ok.
All done right?
Not exactly, as it will prompt you for a username and password. For this, enter the local administrator username and password and then press ok. For example, my administrator account would be LABTEST\Administrator or Administrator. An administrator account is required since it has the required permissions needed.
Step 4 - Restarting the system and checking if the device has registered
Now the final step, once you press next the system should prompt to restart. Press restart and the VM should restart.
Once restart, you will notice a difference which I will explain using the picture below..
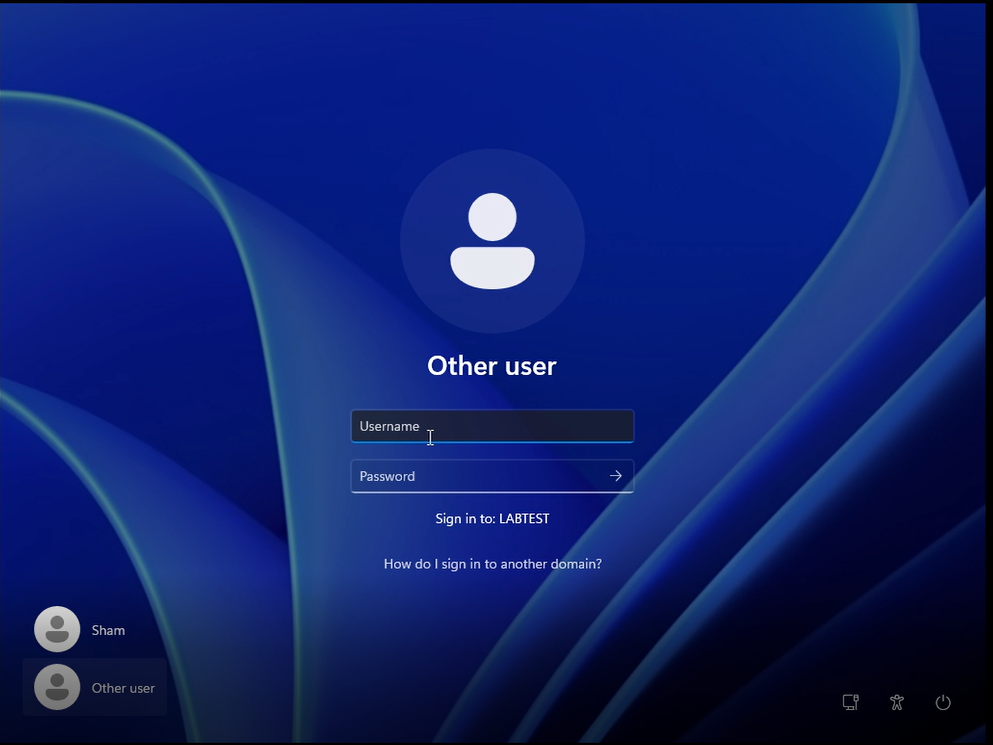
As seen from the screenshot above, the login page looks a bit different from the original. The key difference is the two options in the bottom left which is showing up. This is completely normal and I will break this down below -
Sham - This is a local account that I was using before I joined my device to the domain and will be a local account I can access.
Other user - This is an option to try and sign into another account with a username and password.
For this blog, I will make use other other user option and sign into an account registered onto the domain. To create an account within the domain, you will use the Active directory program and create a new user through there as mentioned in my previous blog which you can check out here -
From Lab to Cloud — Decrypting the Code: Active Directory Users, Groups, and OUsOk, now back to topic. I will use a user I created locally on the domain and I recommend you to do the same. In my case, the account username is Sham_Test and the password is the one I have set up when I created the account. The VM communicates with the domain controller and checks if the account exists. Fingers crossed, it should set up a profile and let you sign in.
Step 5 - How do i know everything went smoothly?
As a bonus, I have added an additional step. Normally if it lets you sign in with your AD account, this should have indicated that this has been a success. But I will show an additional way you can check.
Go to your DC VM and open Active directory Administrative center. Once opened, press the domain name in the left and press the computers folder.
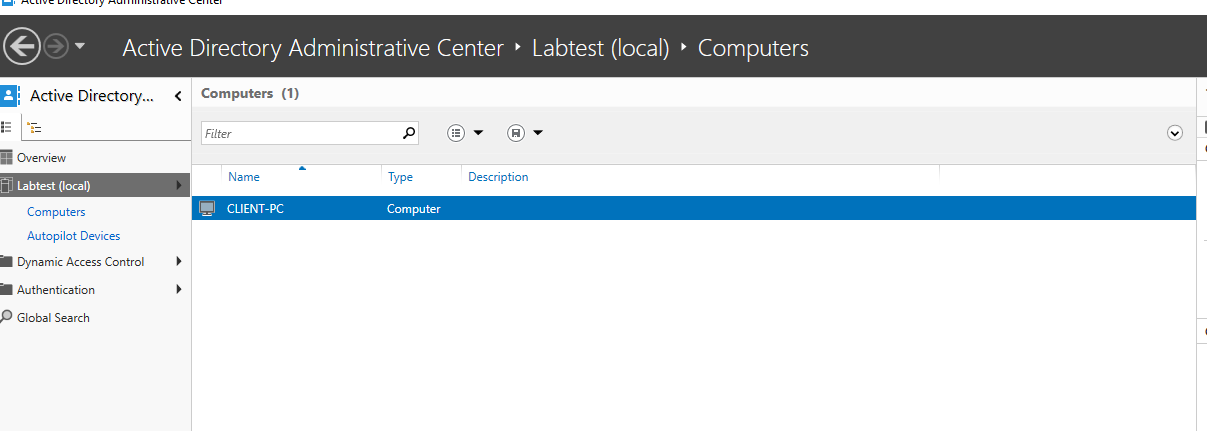
The screenshot above shows all the computers that are registered on the domain. As you can see, the CLIENT-PC has sucessfully registered on the domain as it is showing on AD.
Now I can finally wrap up this section, was a bit of a long one but had to explain every key bit.
Section 10.3 Preparing the client device for Intune
Now I will start transitioning and in this section the focus switches to getting the device ready for Intune.
What is Intune?
I will answer this in the simplest way possible to avoid boring you. Intune is a service based on the cloud which makes sure your devices are secure and is managed efficiently. Examples of devices could be laptops, desktops and even mobile phones.
The simplest I can write this. Well enough of me waffling, how do I set this up. To explain this, I have to break it down in different bits.
Step 1 - Installing WindowsAutopilot.ps1 script on the client VM
As you can see from above, this is not a magic trick. There will be a PS script that will be doing all the heavy lifting for us to get the device ready for Intune. But we do need to install the script.
First, open PowerShell as administrator (you may need to enter the local admin password details which you can create in AD) and then navigate to the root of the C drive. To do this, type in cd ... which should take you to the C drive. Once done, make a directory called AutpilotOutput. To do this type in md AutopilotOutput and the directory should be created.
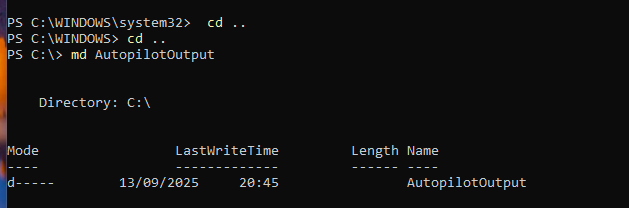
The output should look like something like above. This shows that the directory has been created. Now let's change the path to the new directory and to do this run the following command cd AutopilotOutput. This should change the location to the new directory we have created and now it is time to install the script.
To install the script, run the following command - Install-Script -Name Get-WindowsAutopilotInfo -Force
This will install the script with all the required permissions and there may be a message where it will ask to install NuGet. Press Y and you should see some blue flashing installing bars. This is normal and when it is done, it should look like the below.

As there are no error messages, this means that no problems were faced and showed that the script ran successfully. Now step 2..
Step 2 - Getting the Autopilot hash of the device
Second step would be getting the Autopilot hash of the device. But first, I will explain why the hash is required in autopilot with a simple definition below.
Autopilot hash - The hash is a unique identifier that contains information about the device and the users registered on the device. The hash contains a combination of strings and numbers which can be used to register the device on Autopilot and provide that link between Azure and the device
Bit of a wordy definition here but that is the fundamentals of what an Autopilot hash is and how it works. So we will need to get the Autopilot hash of the device and to do this there is a specific command that needs to be executed -
Get-WindowsAutopilotInfo -OutputFile AutoPilotHWID.csv
This is the command that needs to be executed which should retrieve the hash of the file. However..

as seen from the image above, there is an error message that shows up. This is the most simplest fix to do as I have forgot to run the command to set the execution policy to allow this script to run. The command to use would be -
Set-ExecutionPolicy RemoteSigned
This command sets the execution policy as remotesigned which should allow us to run the script needed. Once the policy is set, then run the Get-WindowsAutopilotInfo command which should work.
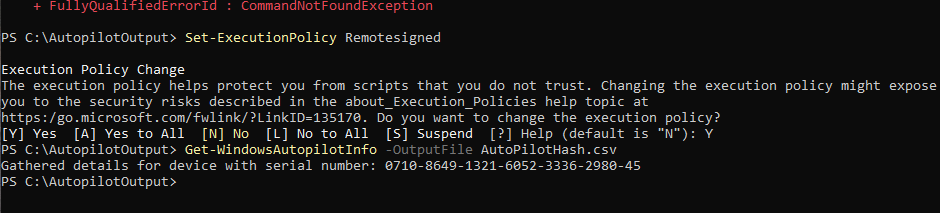
The output should look like the output shown above. The details will be stored in the CSV. This shows that the hash has been retrieved and that is the end of the section. I will not upload the hash yet as we will need to create a deployment profile first which will be explained in the next blog post.
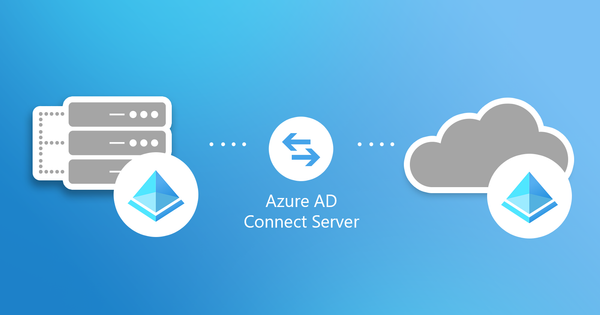
Section 10.4 The Intune connector
The final section beckons and this one is a bit different from the rest of the section. Here I will discuss more about the theory of the Intune connector and what it does in a modern environment.
What is the Intune connector
The Intune connector is a connector that acts as a bridge between Intune and the on premise Active directory setup. This ultimately completes the hybrid setup as it enables devices to join both systems at the same time and allows for users to sign in. Small definition of what it is but how does this work?
How does this work?
This should be more simpler to explain but there are different sections that it will go through in which I will break it down below.
First stage - An Autopilot request is sent
The first stage happens during the Autopilot phase and in this phase, something called an ODJ request is sent and communicates with the connector.
ODJ - Stands for Offline domain join is a key component that allows the device to be joined onto the domain without the need of a VPN and an on network connection.
Second stage - ODJ request received and Object is created
The second stage happens when the Offline domain join request is found and received by the connector. This allows the connector to begin the step of creating the computer object in Active Directory OU (Check out my blog post on Active directory if you are confused what an OU is)
Third stage - Hybrid join completed
The final stage is the completion of the hybrid join. For this to happen, the device powers on and communicates with Azure AD to retrieve the domain information and completes the information. Once done, the device will be managed by Intune and On premise AD.
Do we need this?
Well yes but no. This is something good to learn and have some knowledge about when working with different enterprises. This is something that I have learnt while I was doing some testing on different Autopilot environments.
While this will not be useful for the next blog post, It is always good to have an understanding of how this piece of technology works.
If you wish to set this up, I will attach a link below which helped me learn and set this up in my own environment. However, there were some constraints such as domain issues due to this being done in a simpler enviroment then required.
Section 10.5 Video tutorial
Due to time constraints and life just gets really busy, I have put the concept of making video tutorials on hold till further notice. But I will plan to introduce them again in the future..
Section 10.6 Final words
Well I am publishing this so late. I started this blog post in the middle of August and unfortunately, life gets really busy and gives us all challenges. For example watching United lose every weekend was one of the challenges I faced. But finally, this post has been created and it may be something small, but as a wise man once told me "something small can become something major".
-Sham